Monday, November 24, 2014

Recolor only an area of a slide to focus attention


 image credit: David R. Tribble   
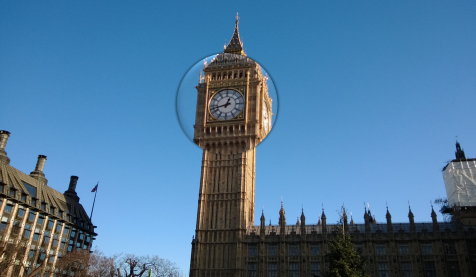
Recolor Remainder feature changes the color of the surrounding areas while leaving the selected area unchanged.
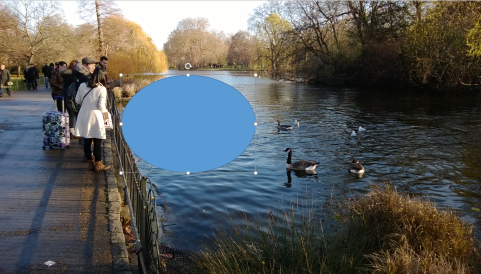
First draw a shape over the area which should be left unchanged. You can use PowerPoint's 'freeform' shape if you want to draw a irregular shape as the one given below.

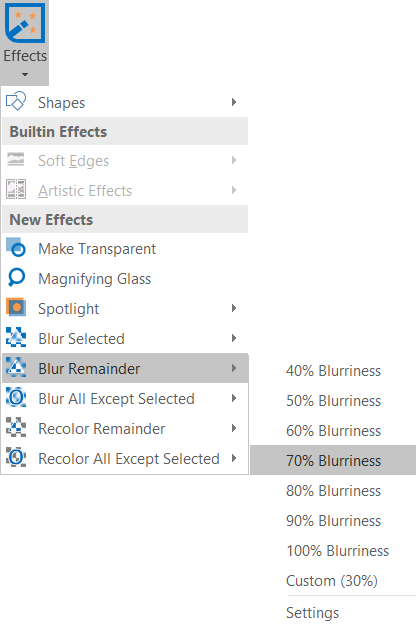
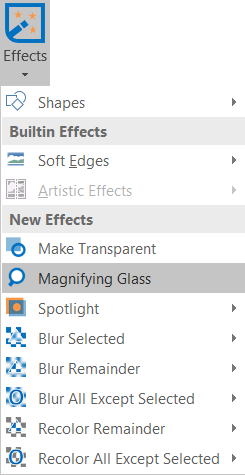
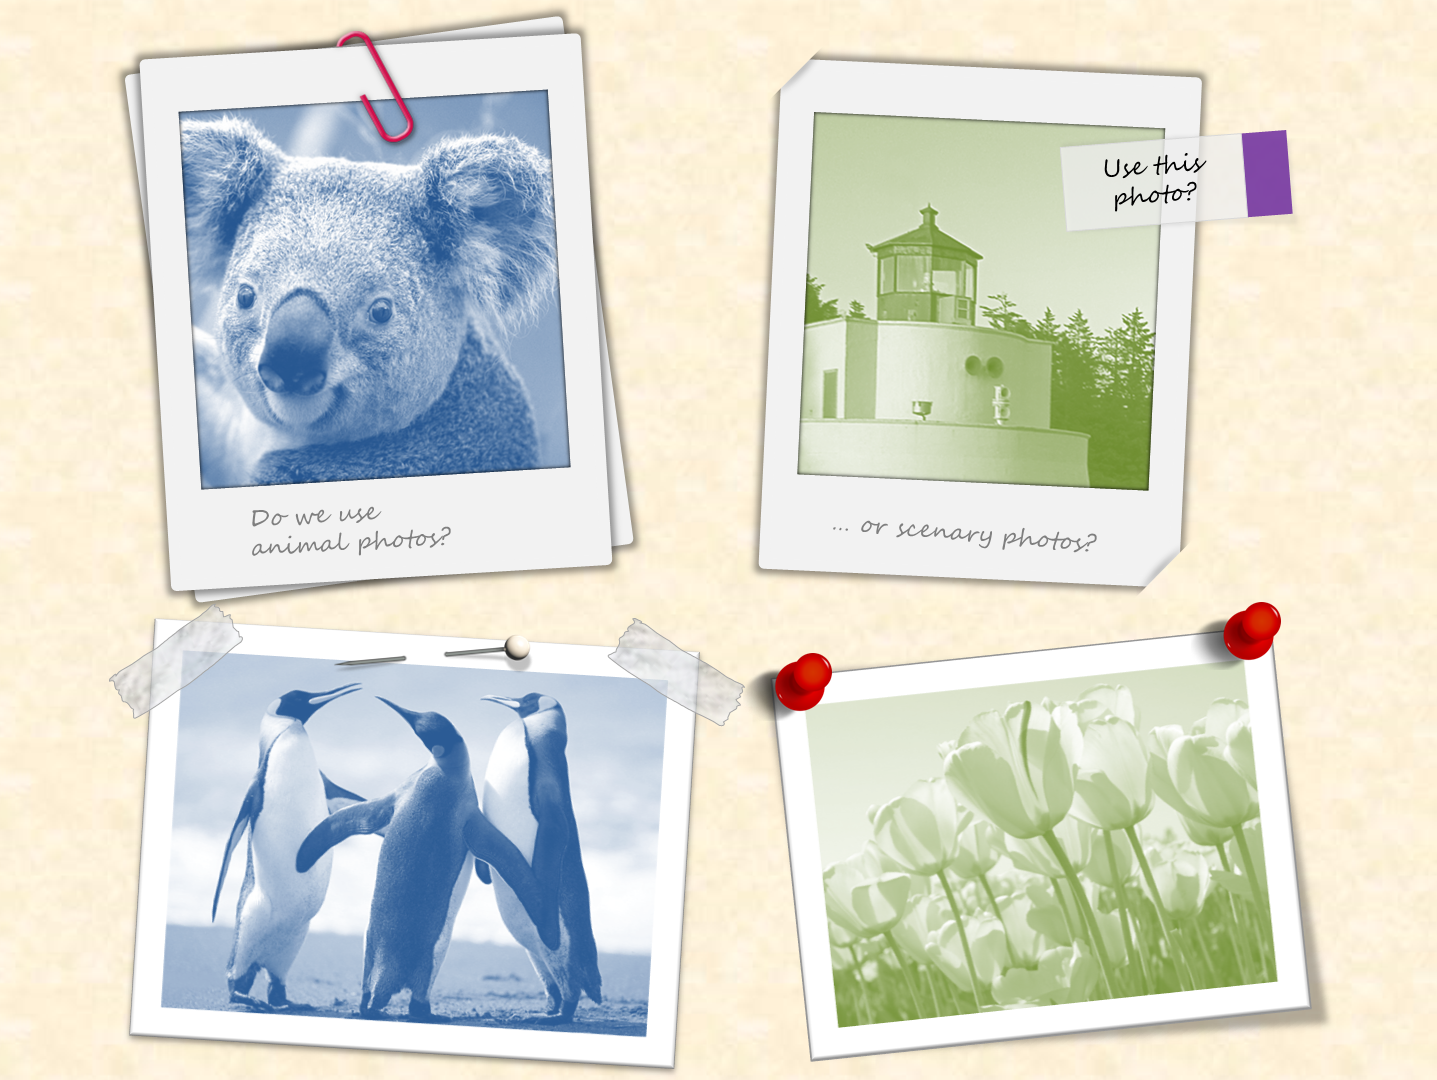
Next, select the shape, select Recolor Remainder from the Effects Lab dropdown, then choose the scheme to use - in our example here, we chose Gray Scale.

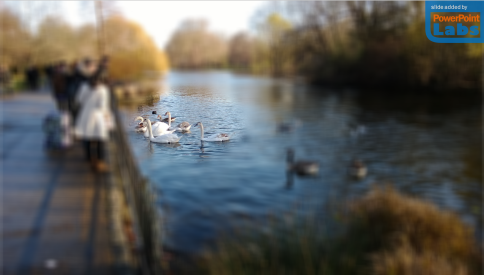
PowerPointLabs will insert a new slide, with the surrounding areas recolored (similar to the first image in this post).
After applying this feature, you can apply other PowerPoint features to the recolored area as well as the non-recolored area. Here are some examples.
 
Here is a short demo video:
 
The Recolor remainder feature comes with the free PowerPointLabs add-in and works for both PowerPoint 2010 and 2013 on Windows. 

Adjust transparency of pictures on slides


The Make Transparent turns the selected image or shape slightly transparent. This can be used to fade an image for use in the background of a slide, as shown above.
To apply the feature, select the image and click  Make Transparent from the Effects Lab dropdown.

 This feature can be useful in 'toning down' any picture so that it does not attract unnecessary attention, for example, making a logo less conspicuous:

The 'Make transparent' feature comes with the free PowerPointLabs add-in and works for both PowerPoint 2010 and 2013 on Windows.

Sunday, November 23, 2014

Blur slide background to focus attention on an area

 image credit: http://commons.wikimedia.org/wiki/File:Royal_Wedding_Crowd.jpg

Blur Remainder feature can be used to draw attention to a particular part of the slide by adding a blur effect to the surrounding areas - similar to adjusting the focus on a camera.

To use it, first draw a shape over the area to be kept in focus.
Select the shape, then click Blur Remainder from the Effects Lab dropdown.
PowerPointLabs will then insert a new slide containing the blur effect.
 

It works with multiple shapes in one slide too. Here is an example:


Here is a short demo video:


The 'Blur remainder' feature comes with the free PowerPointLabs add-in and works for both PowerPoint 2010 and 2013 on Windows.

A 'magnifying glass' effect in PowerPoint (takes only 5 seconds)

Photo credit: https://www.flickr.com/photos/webtreatsetc
The Magnifying Glass effect can be used to enlarge a small detail on the slide. To use it, first draw a shape over the area to be magnified.

Select the shape, then click Magnifying Glass from the Effects Lab dropdown.

 This magnifies the area covered by the shape:
Though the example shown here uses a circle, any type of shape can be used as the magnifier. Here is another examples:


Here is a demo video:

 
The 'Magnifying glass' feature comes with the free PowerPointLabs add-in and works for both PowerPoint 2010 and 2013 on Windows. 

Sunday, November 2, 2014

Download more PowerPoint shapes: pins and stuff

Bored with built-in shapes PowerPoint gives you? Here is a collection of pins, magnets, and other implements for 'attaching' items to your slides.The screenshot below shows example usage.

This shapes library is called 'Pins and stuff' and is free to download from the PowerPointLabs website. It contains the following shapes.
To use these shapes in your slides, you need the Shapes Lab feature that comes with the free PowerPointLabs add-in.