Thursday, February 27, 2014

Cut out just the part you need from pictures, in any shape, right within PowerPoint

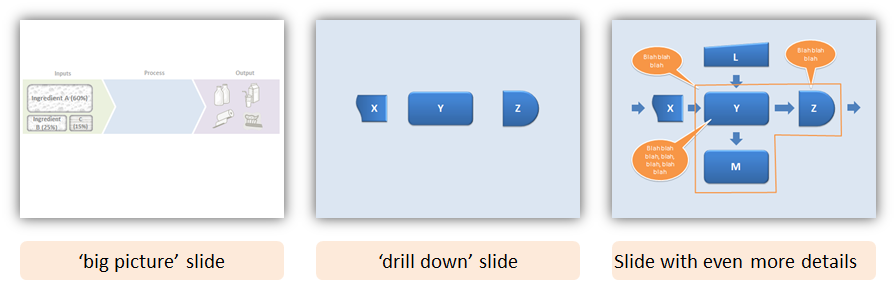
Auto Crop allows you to easily cut out a any shape out of an image on a slide without needing any additional image editing software.
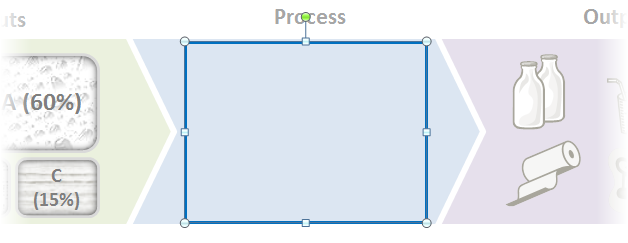
First, use the freeform shape tool to mark out the area you'd like to crop.
Select the shape, then click the Crop To Shape button on the ribbon.
PowerPoint's shadow and soft edges effects can be used to enhance the look of the cropped image - for instance, here's the same image above after soft edges were applied.
For more complex cut-outs, just draw multiple shapes, select all of them, then click Crop To Shape.
The result of the above crop, with the shadow effect applied:
Note: Auto Crop can also be used to cut an area from multiple images. Just draw the shape(s) over all the images, select them, and click the Crop To Shape button.
Get your free copy of the PowerPoint Labs from http://www.comp.nus.edu.sg/~pptlabs/

Zoom in/out of your PowerPoint slides with ease

Zoom to an area

Zoom to Area allows you to draw the audience's attention to a particular section of the slide by zooming in on it.
To use Zoom to Area, draw a rectangular shape on the portion of the slide you wish to zoom to.

Next, select the rectangle, and click the Zoom to Area button. A series of animation slides will be created to zoom in on the area, as well as to zoom back out again.
Here's the result.

Drill Down, Step Back

Drill Down allows you to show your audience the bigger picture and progressively zoom into details without overwhelming them with information. Step back is creates the effect of zooming back out to the "big picture". An example can be seen above.
To use Drill Down, you first need to create two slides: one for the "bigger picture" view, and one with the content to drill down into. Leave an empty area on the "big picture" slide where you want the zoom effect to take place:
Next, on the "big picture" slide, draw a rectangle in the empty space - this will be where the content from the "drill down" slide will appear.
Select the rectangle, and click the Drill Down button.
PowerPoint Labs will replace the rectangle with an image of the "drill down" slide, and add an animation slide with the zoom effect.
If you change the content of the "drill down" slide later, just select the picture and click Drill Down again to regenerate the zoom animation.
To create the effect of stepping back to see the "big picture", simply duplicate the "big picture" slide and place it after the "drill down" slide. Next, select the picture of the "drill down" slide and click Step Back.
Get your free copy of the PowerPoint Labs from http://www.comp.nus.edu.sg/~pptlabs/

The easiest way to create multi-step animation paths in PowerPoint

Let's say you want to create slick multi-step animation paths in a PowerPoint slide, just like those shown below:
All you need to do is to place a copy of the shape to be animated at each "stop" along the desired animation path, select the shapes in the order to be animated (by Ctrl+clicking them), and click the Animate In Slide button.
To modify the animation, just move the shapes as necessary, select them, and click the Animate In Slide button again. It's that easy!
Get your free copy of the PowerPoint Labs from http://www.comp.nus.edu.sg/~pptlabs